The Retro Console
Last month [nb: in 2014] I started working on a retro gaming console to play some of my favorite classics on my television without the complication of a keyboard and mouse. I tried (and failed) a variety of different approaches and finally landed on this as the easiest and most manageable:
The Hardware
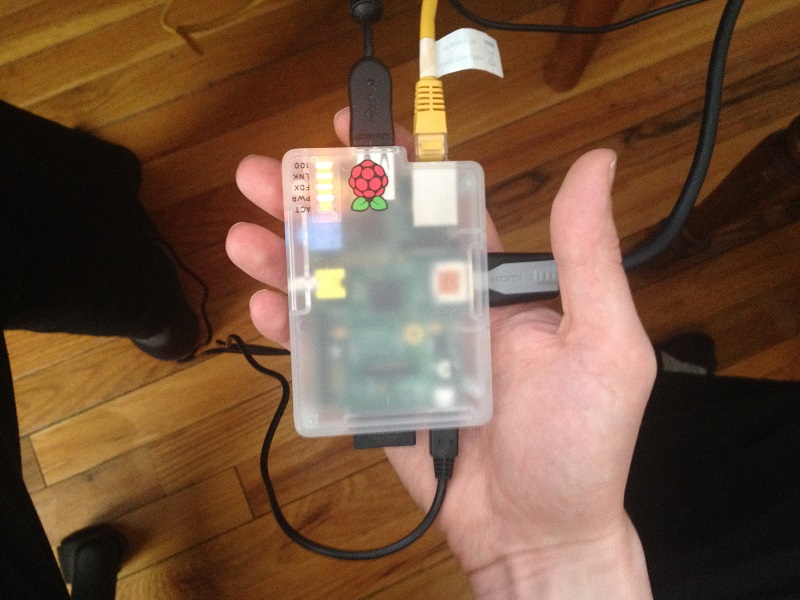
- Rasberry PI Model B
- Rasberry Pi Case
- SD Flash Memory Card (I wouldn’t go less than 16 GB if you are planning on using PSX ROMs.)
- XBOX 360 Wireless Controller (Buy 1-4, depending on your retro gaming needs and desires.)
- SD card to USB card reader
Keep in mind there are certainly beefier setups you could use. I have an old 2006 Mac Mini with 2 GB of RAM, for instance, that’s just itching for a good use, but the level of effort and cost (assuming you don’t have the hardware) is far greater. The Rasberry PI, however, is quiet and has more than enough power to emulate many of the classics with minimal effort.
The RetroPie Project
The trick to any retro console is to get it to feel like a console and that requires some sort of emulation tool that organizes emulators, BIOs, and ROMs into a controller friendly interface, a console for consoles. There are numerous platforms that do this: Hyperspin, Maximus, RetroArch, and more I’m surely missing.
Since the Raspberry PI uses a Linux kernel, however, and doesn’t have the processing power to deal with some newer systems, we’re interested in the RetroArch with an Emulation Station GUI.
The list of systems it can emulate is pretty long, but the ones I’m currently using are the Atari 2600, Game Boy Advance, Game Gear, Sega Master System, Sega Genesis, NES, SNES, and PlayStation 1 (PSX).
Note: In order to get PlayStation games to run smoothly, you have to overclock your PI. Also, games that swap disks are problematic. I’m told some command line fiddling and file renaming can solve this problem, but that sort of defeats the purpose of this project. I also haven’t been able to get the N64 emulator to work.
Now you could follow the Emulation Station directions or you could do it the easy way and download and install the RetroPie Project’s SD card image on your own SD card.
Installing RetroPie
Now that you’ve downloaded the image file, there are a number of ways to install it, depending on your computer’s OS. The gist of the easiest methods is to connect your SD card to your computer and use a “disk image to USB bootable drive” program.
- Linux: ImageWriter (I used this in Xubuntu, but mileage may vary depending on distro.)
- Windows: Win32 Disk Imager
- Mac: PiWriter
Flash the drive with the image and then slide the card in your Rasberry PI, connect it to a monitor/TV, give it power, internet, and a keyboard, and then it should boot into Emulation Station.
Configuring RetroPie
After the boot, you’ll get an auto-configuration utility for the controllers. Don’t even bother trying, they aren’t connect yet and there’s plenty of work to do before we get there. Instead, just press F4 on the keyboard to exit into command line.
First, we’ll need to make sure RetroPie is using all the space on the SD card so type:
sudo raspi-config
Choose “expand root fs” from the menu, then reboot your PI and press F4 on the configuration screen again. Next we are going to make sure all the packages are updated:
sudo apt-get update
sudo apt-get upgrade
Each command could take a bit of time, particularly the second since it’s downloading the files necessary to update all the dependencies. Go grab a beer.
Next we’ll connecting the XBOX controllers. I’ve found the XBOX 360 controller documentation is pretty solid on the RetroPie wiki. You’ll start by installing xboxdrv:
sudo apt-get install xboxdrv
And then follow one of the methods outline in the documentation. I happened to use the first and found I had a conflict with the xpad driver (i.e., the controllers wouldn’t connect to the dongle), so I had to add the extra line, “rmmod xpad” to the /etc/rc.local edits the wiki outlined:
rmmod xpad
xboxdrv --detach-kernel-driver --trigger-as-button --wid 0 --led 2 --deadzone 4000 --silent &
sleep 1
xboxdrv --detach-kernel-driver --trigger-as-button --wid 1 --led 3 --deadzone 4000 --silent &
sleep 1
xboxdrv --detach-kernel-driver --trigger-as-button --wid 2 --led 4 --deadzone 4000 --silent &
sleep 1
xboxdrv --detach-kernel-driver --trigger-as-button --wid 3 --led 5 --deadzone 4000 --silent &
sleep 1
It’s important to remember these edits in /etc/rc.local must be placed BEFORE exit 0.
Now make sure the Xbox controllers are on, connect the USB dongle, and reboot the PI (“sudo reboot” should work) and it should recognize your controllers once Emulation Station finishes loading. If you were like me, however, and FUBARed the configuration, you’ll need press F4 on the keyboard and go to /home/pi/.emulationstation delete es_input.cfg and reboot the PI again to reconfigure.
Note: I later found out the third “init.d script” option is less memory intensive than the above option I used, but I couldn’t tell you how well it works. I’ve also found sometimes out of the box XBOX controllers don’t want to connect to the dongle: try connecting the dongle to your computer and get them to recognize it there first. I don’t know exactly why, but it worked for me.
The PI should recognize your Xbox controllers and let you navigate through the different emulation menus. Don’t worry if it feels like it’s missing emulators, many of them don’t appear unless you have ROMs.
If you notice an emulated ROM doesn’t recognize your controller, that probably means you haven’t connected/configured RetroArch yet. Complete the directions at the bottom of the xboxdrv documentation from earlier. Reboot after you complete those steps.
Advanced Configuration
Now, theoretically, you could play most ROMs loaded onto the PI, but let’s get a few more tweaks in before we hook this up to the TV in the living room.
I’ve found the RetroArch controller auto-configuration a little lacking since there are a number of different options it doesn’t configure out of the box (at least, as of writing this post). To make adjustments, you’ll edit the retroarch.cfg file which has a section at the end labeled #Player1.
If you like, you can replace just that section with my configuration in this .txt file. To add this to retroarch.cfg from the command line you can type:
sudo nano /home/REtroPie/configs/all/retroarch.cfg
This opens the config in a text editor with useful commands found at the bottom of the terminal screen.
What my config gives you:
- Makes the Left Analog button the default instead of the D-Pad.
- Select functions like it should in game, but also can be used like an “alt” key. For example, hold down Select and Start at the same time to exit out of a game.
- Swaps the A/B and X/Y button configuration to match Nintendo’s since the Xbox gets it “backwards.”
Note: Controller config files are found in /home/REtroPie/configs and each individual emulator folder has a configuration file that overrides the retroarch.cfg. You could create a whole new config for one emulator or just swap a few keybinds. I’ve found out recently, for instance, my config above doesn’t play nice with portable console emulators. When I get around to fixing them, I’ll add those to this section.
I’d also recommend tweaking the following:
- Overscan (important if have a large TV or Monitor)
- Overclocking (This is particularly important if you want to emulate PSX games. I’m also told heatsinks and fans are overkill for the PI, but do what you feel is comfortable.)
- Obtaining the proper Bios files (e.g., PSX games won’t work otherwise.)
Lastly, you’ll probably want to rearrange how the different console systems appear in Emulation System. The order they appear in the es_systems.cfg happens to be the order they are laid out in Emulation Station. To remove or rearrange items in Emulation Station from the command line type:
sudo nano /home/pi/.emulationstation/es_systems.cfg
Do your thing, then exit, save, and reboot.
Note: The es_systems.cfg also defines what ROM types can be read. Make sure ROMs match the files types listed for the respective emulators.
ROMS
People always seem to be coy about where to get these on the web and I don’t know why. There are two ways: rip them from the cartridges and discs you own (legal) or torrent them (not legal).
Note: You’ll find the MAME Roms (arcade games) are particularly finicky. You’ll just have to test what works and what doesn’t. It’s important you get MAME 0.37b5 ROM set, but even then not all may work.
To load ROMs onto your PI, you’ll need to make sure it’s connected to your local area network, then head to the command line by pressing F4 and type:
ifconfig
Your PI’s IP address should look something like 192.168.1.7, but the last number will probably be different. Then you’ll need to connect using an SFTP client. Unless you change the password during the very first RetroPie boot, it should be the default:
Username: pi
Password: raspberry
You’ll find the ROMs directory at /home/pi/RetroPie/roms, load them up, and then reboot.
Note: You can connect the pi to your wireless network, but you can buy a peripheral and do some more configuration.
HELP
The information here will inevitably deprecate as the RetroPie project continues to develop and I can’t be expected to update this page indefinitely [NB: Much of this is deprecated now, but I'll keep this up for historically purposes.]
If you really are baffled, I’d recommend these two resources:
Good luck and happy gaming!